
How To Apply
HOW TO APPLY WALL STICKERS WITH APPLICATION TAPE
Applying wall decals is comparatively easy, but nevertheless, we recommend you to follow our instructions to make sure you will apply your wall sticker the right way from the first time.
Further in text we refer to walls, but the same is valid for any smooth surface where you can apply decals. You can find more detail in section Surfaces.
A wall sticker consists of 3 layers:
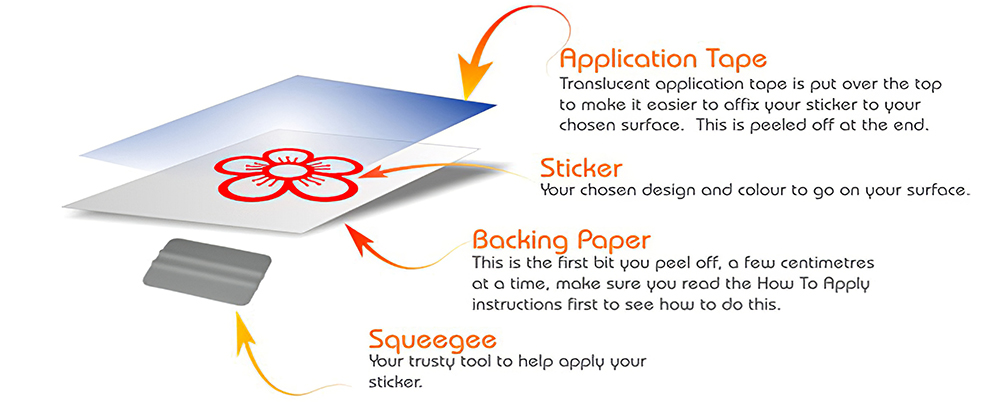 |
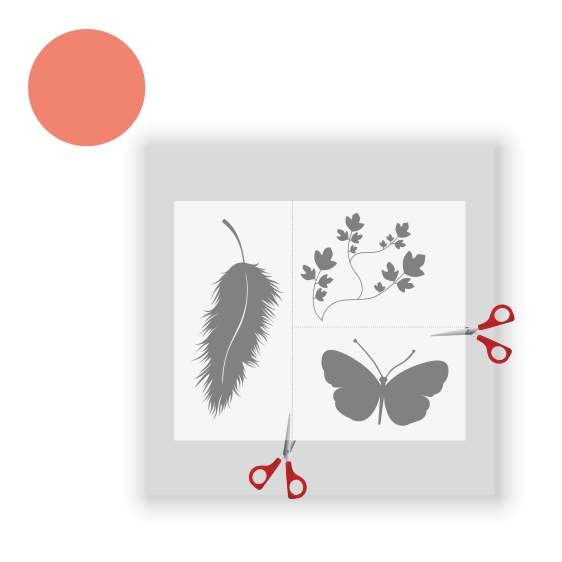
When you place an order for a wall sticker at myRoom Decor you receive a box or a pack, which contains: • squeegee• paper tape • the graphic itself If you have multiple decals on one sheet you may wish to separate them with scissors. |
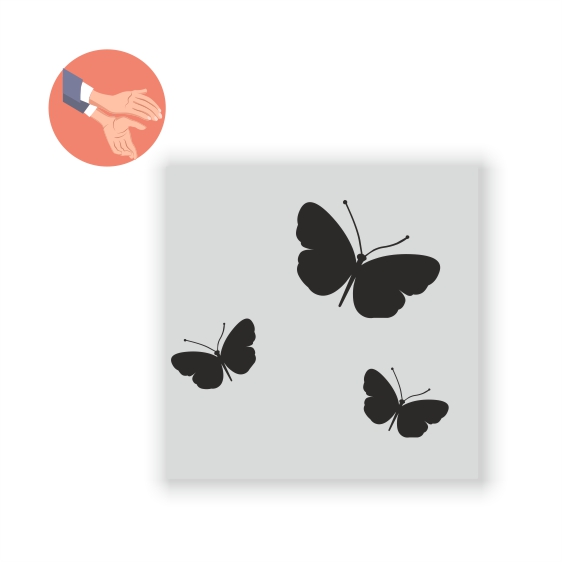
Roll the Decal(s) out on a flat surface. Make sure the decal is flat on the surface using the palm of your hand to ensure there are no creases or bubbles visible.
Note!
• Freshly painted walls must be left for at least 2 weeks before application; if your wall decal is to be fitted on a wall where the other side of the wall is external you must wait at least 1 more week before application..
• Taking your time when applying the decals will help you achieve the best results. Make sure everything is in position before removing the backing layer as the adhesive layer below is very sticky.
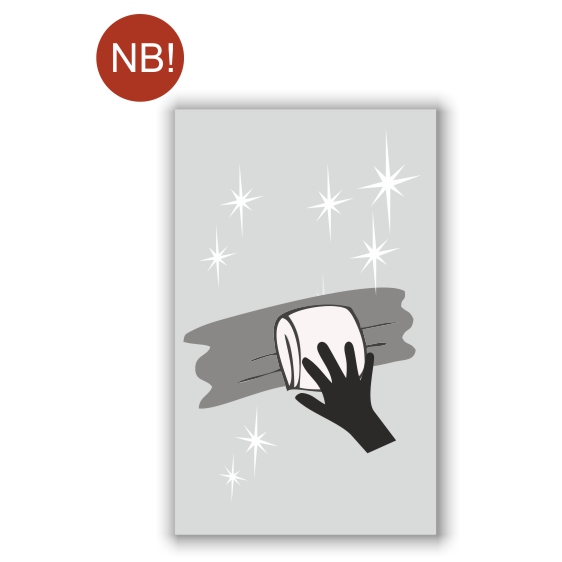 |  |
Important! Clean the surface with a wet cloth tp ensure that there are no dust or small particles. | 1. Select the right place for the sticker. 2. Apply a strip of tape across the decal to create an anchor point (horizontally or vertically depending on shape of the decal). |
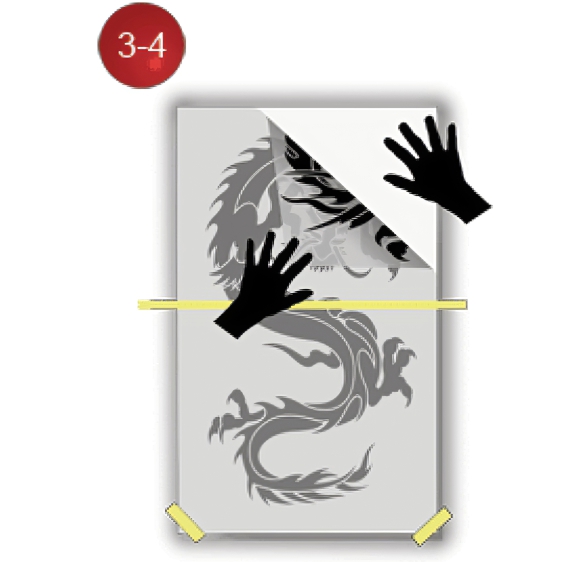 | 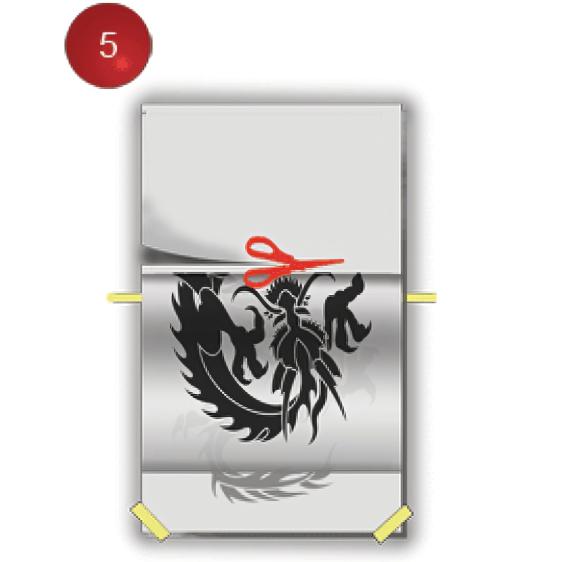 |
3. Once the decal is anchored, remove the tape from the two top corners. 4. Begin to carefully peel the application layer from the backing layer, ensuring the decal is stuck to the application layer. | 5. Cut the backing layer as close to the central divide as possible. |
 | 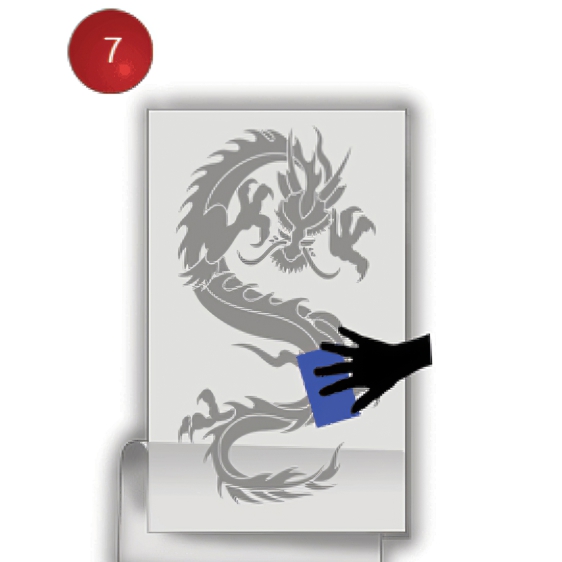 |
| 6. Start pressing the application layer(together with the graphic) to the wall constantly smoothing with the squeegee. • Make sure to remove any bubble. • Start from the middle and work outwards, moving up slightly as you go along. | 7. Wait a few minutes and then remove the anchor tape in the middle. • Repeat step 6 on the opposite side. |
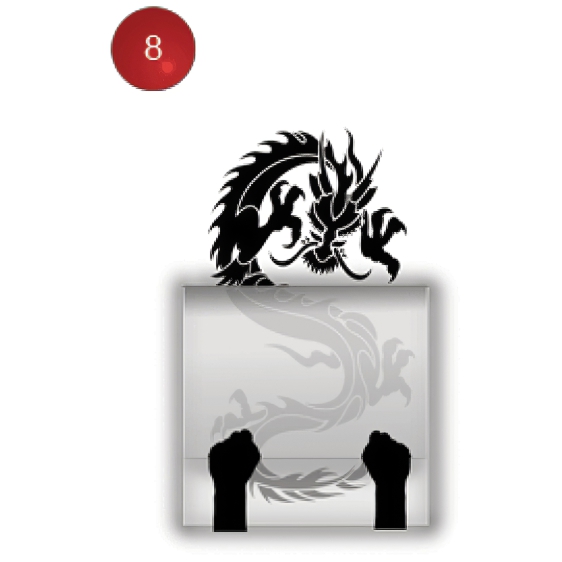 | 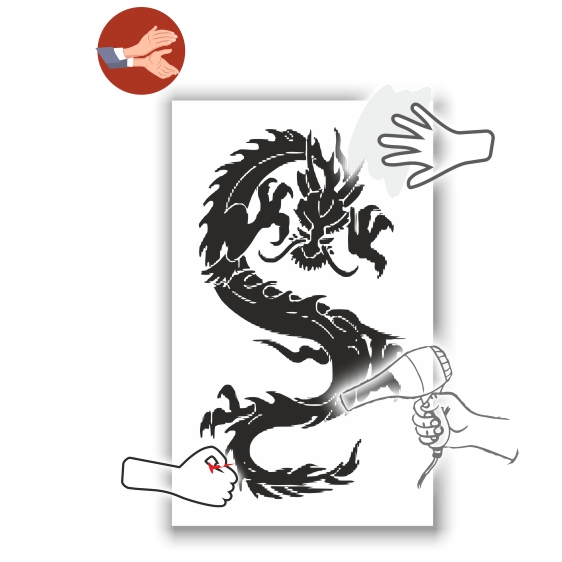 |
8. Wait about 10 minutes and start peeling off the application layer. • Be careful not to raise elements of the sticker. If that happens, go back and press until you are sure the element remains on the wall. | And there you have it! • you can wipe fingerprints stains. |
How to apply small decals with application tape
 | 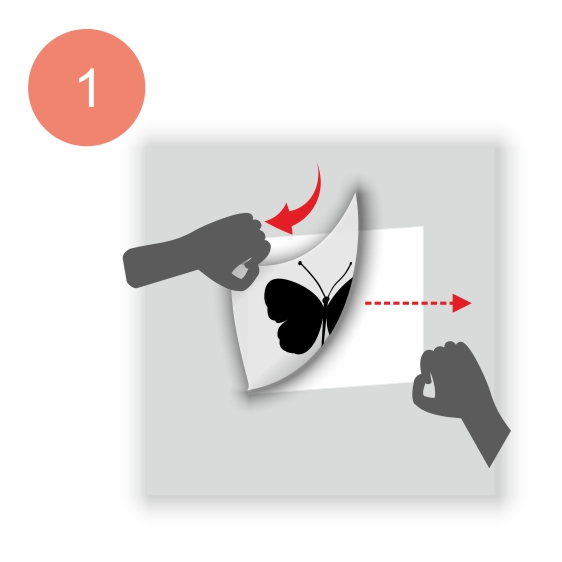 |
| Additional elements that has bee alreadu cut off can be applied with the technology above. But most often they are small and doing the following is enough: | 1. Peel off the paper back from the application tape and the sticker. |
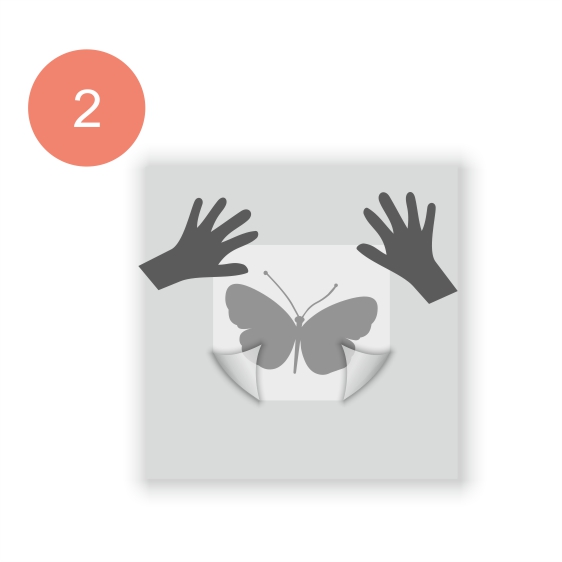 | 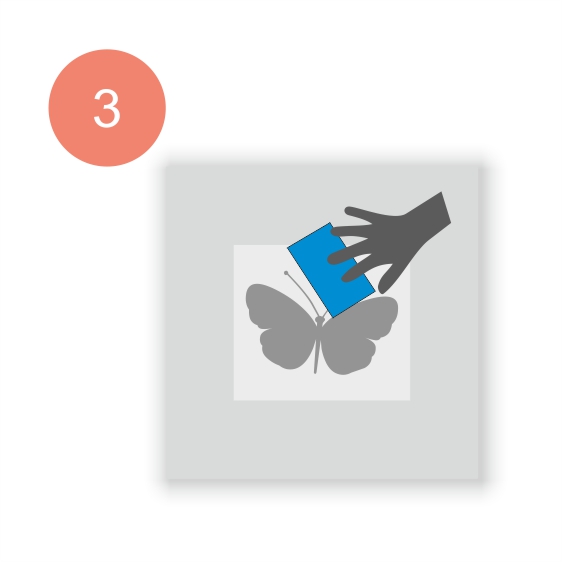 |
| 2. Put them in place and press to the wall. | 3. Smooth with the squeegee. |
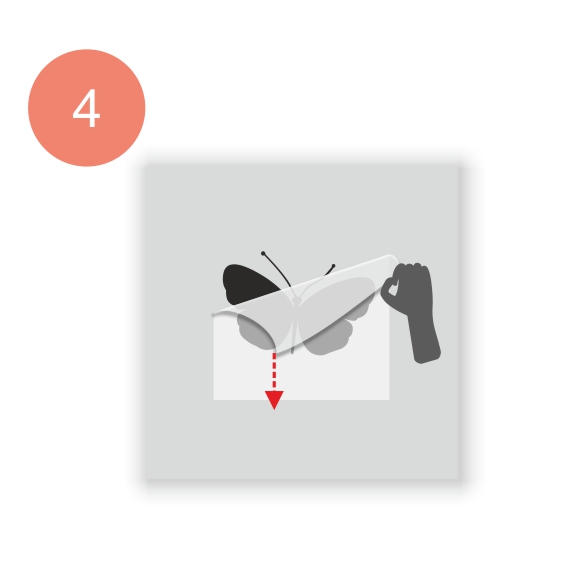 |  |
| 4. Peel off the application tape under a sharp angle. | And there you have it! |
If you are wanting to remove your wall sticker for any reason, take a look at our guide on How To Remove Wall Stickers.
If you happen to come across any problems when applying your wall sticker or simply need some advice before starting, give us a call and we will be able to walk you through the steps and give you the correct information to help you put your decal on the wall.
